
Kids, this one’s important.
Sometimes in life, you come across large pieces of meat offered to you by friends. You should not pass up any kind of invitation allowing you to purchase meat.
Herein we will explore how to handle a large piece of meat. One that’s longer than a No. 2 pencil. This is a top sirloin steak that a friend provided for us to purchase last spring and it’s just been sitting in my freezer for the past 7 months. I decided it was time to handle this big piece of meat and…free up some freezer space.
Preheat the oven to 400 degrees, pretties.
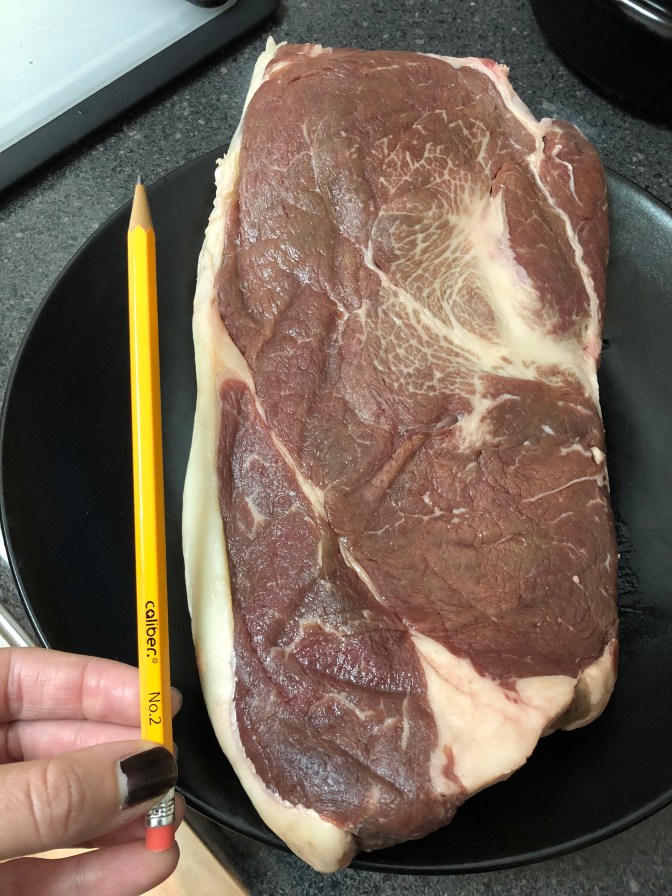
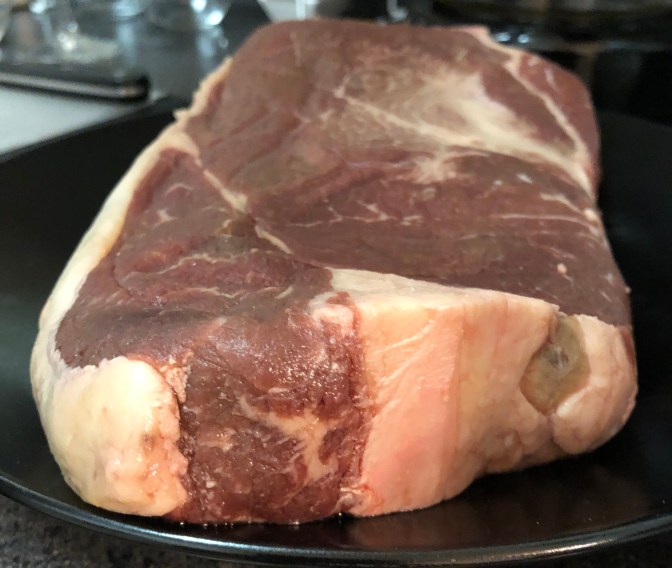
Dare we say, that’s nearly 2 inches of pure gratification. 🙂
Moving on.
Important note for applying a dry rub to your meat: Have one “dry hand” and one “wet hand.” Meaning that, anytime you’re introducing dry ingredients to a wet element you want to have a dry hand so that you avoid the ingredients clumping onto both of your hands.

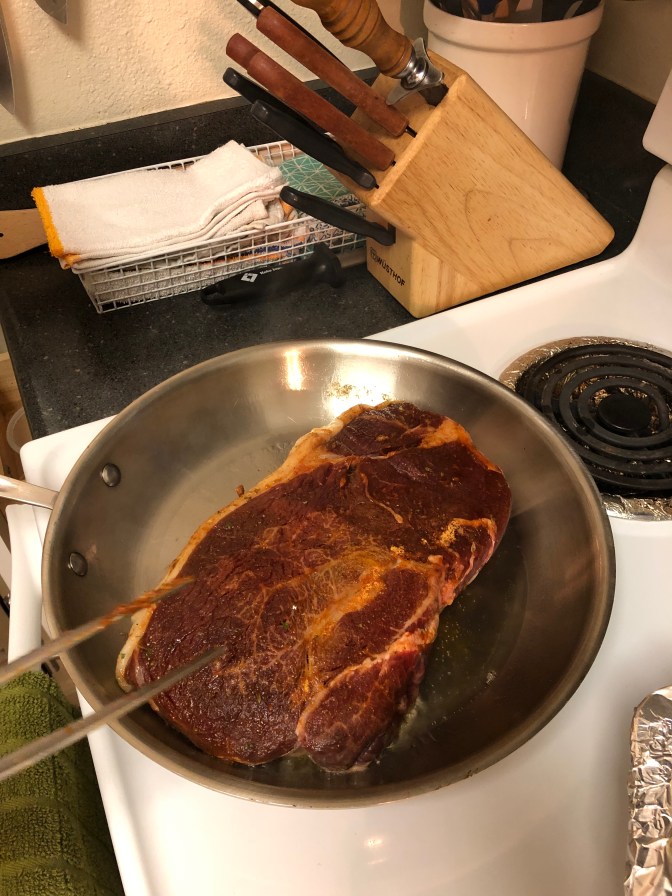
I used a packet mix from McCormick. Flip the meat to season the other side too.
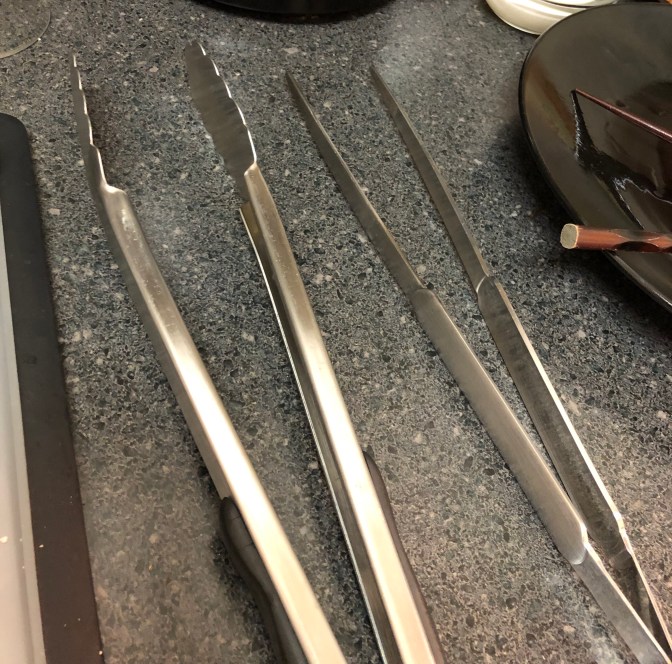
When dealing with a piece of meat this big, I find it more advantageous to switch over to the prong-shaped tongs (pictured below, right), as you actually get more control with them.
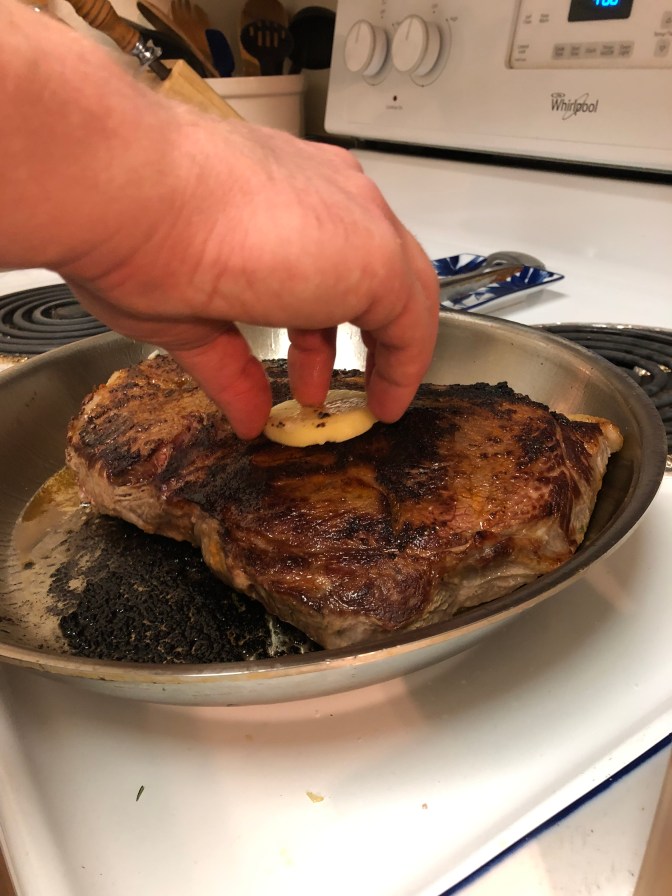
Start by coating the pan with clarified butter and laying the meat in the pan.
Flip the sucker and rub butter on the top (if you have cultured butter around, it offers a nice funky note to the meat).
The temperature of the pan should be about medium high.
Secret tip: place the full piece of meat (still in the pan) butter side up, into the oven to cook at 400 degrees for 8 minutes. Just double check and make sure your pan is oven safe before placing it into the oven (you’ll know this by bottom of pan & if the handle is not metal).
Remove the pan from oven and spoon the juices on top of the meat. Like dis:
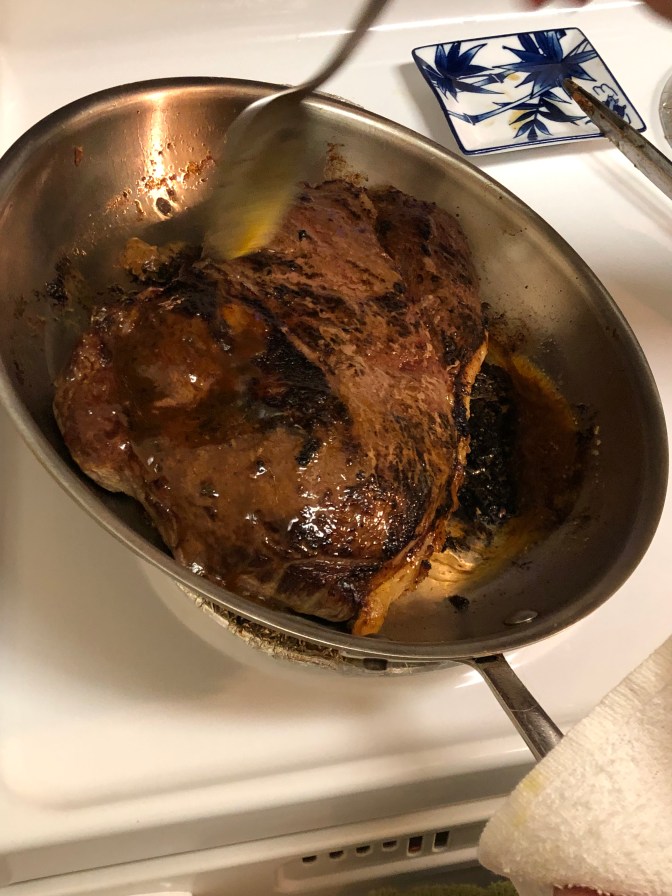
I personally wanted one side a bit darker so I placed it back into the oven under the broiler.
It’s OK if the oven is still hot and/or on. It’s only in there for roughly 3 minutes. If you’re worried about overcooking, you can leave the oven door cracked with the broiler on.
Once out of the pan, rest the meat by suspending it so air can cool it on all sides evenly. Sprinkle with sea salt. Using chopsticks, you can create a cooling rack in the seasoning dish like the one below.

Let the meat rest before moving it onto a cutting board to cut into it. I’ve heard many theories regarding how long it should rest, but a pretty safe bet is at least half the amount of time it took to cook. Finished product should look like this:

Fully plated, here is the final product:
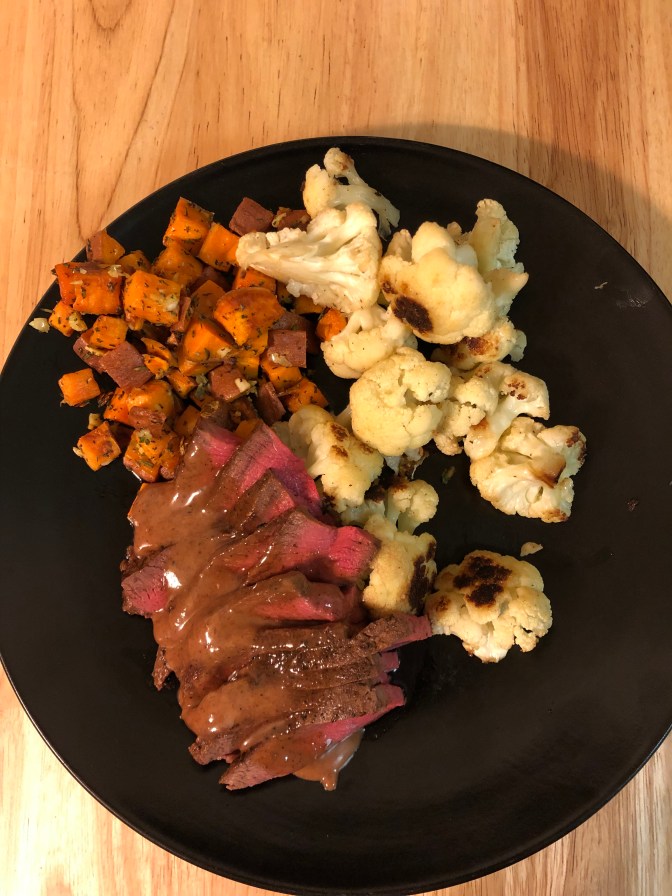
The sauce was made by pouring the remaining pan juices into a small bowl with the drippings from the meat on the cooling plate it was suspended in, and then rapidly stirring in butter.
Always enjoy your meat with good wine and company.
